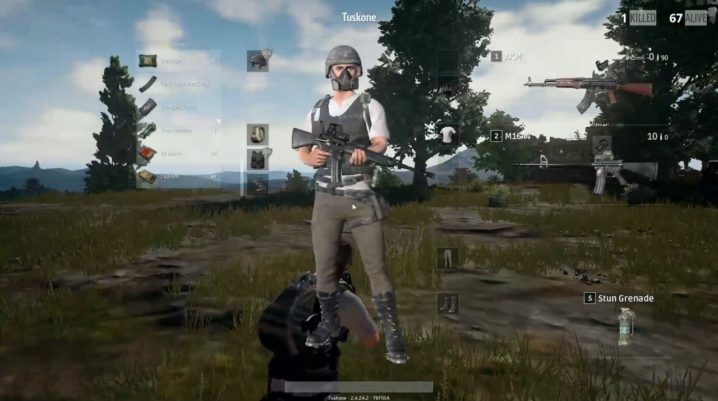
PlayerUnknown Battle Ground (PUBG) players recounted getting the ‘Internet Error’ prompt when trying to play the game.
Most times, players experience this error because their DNS (Domain Name Server) failed to connect with PUBG’s servers. To rectify this problem, all you need to do is change your DNS by following the steps described below.
Fix: PUBG mobile internet error
To fix this error, ensure that:
- You are connected to a stable Wi-Fi internet network
- Your internet speed is fast enough to play an online multiplayer game
- You are not connected to your mobile device’s network provider
For Android device:
- Launch your device’s settings,
- Under your device’s ‘Wireless & network’, tap on ‘Wi-Fi’
- tap and hold down the Wi-Fi network you are connected to
- From the options menu, you should tap on ‘Modify Network’
- Enter the password for accessing the Wi-Fi network and tap on ‘Advanced options’
- Scroll down, locate and tap on ‘IP Settings’
- Select ‘Static’ from the drop-down menu to replace ‘DHCP’
- Scroll down to ‘DNS 1’ and ‘DNS 2’ still under the ‘IP Settings’
- You can replace your current DNS with either Google DNS or OpenDNS
- For Google DNS, enter 8.8.8.8 for DNS 1. Enter 8.8.4.4 for DNS 2
- For OpenDNS, enter 208.67.222.123 for DNS 1. Enter 208.67.220.123 for DNS 2
- Tap on ‘Save’ to save and exit your device’s settings
- Launch the game
If the error persists, restart your phone and try again
For iOS devices:
- Launch your device’s settings
- Under the ‘Airplane Mode’, tap on ‘Wi-Fi’ to display the Wi-Fi network you are connected to and other Wi-Fi networks
- Tap on the blue ‘i’ in a circle beside the Wi-Fi network you are connected to
- Scroll down to DNS, tap on ‘Configure DNS’
- Set your DNS to ‘Manual’
- Delete the old DNS settings by sliding the old DNS settings from right to left
- Tap on ‘Add Server’ to add Google DNS/OpenDNS
- For Google DNS, enter 8.8.8.8 for DNS 1 and 8.8.4.4 for DNS 2
- For OpenDNS, enter 208.67.222.123 for DNS 1 and Enter 208.67.220.123 for DNS 2
- Navigate to the top right section and tap on ‘Save’ to save your new DNS settings
- Exit your device’s settings and launch the PUBG game
Was this helpful?
